Every single year, we find ourselves in the same turkey-tastic pickle, needing a refresher on how long to roast that plump bird or what in the world to do with those mysterious giblets! Fear not, fellow turkey enthusiasts! Here’s our ultimate guide to conquering all things turkey!
Click these links and leap right to the section you’re after:
Brining a Turkey
Brining is the secret sauce to keeping every inch of your turkey plump and happy. Ready to pamper your bird? Here's how to do it:
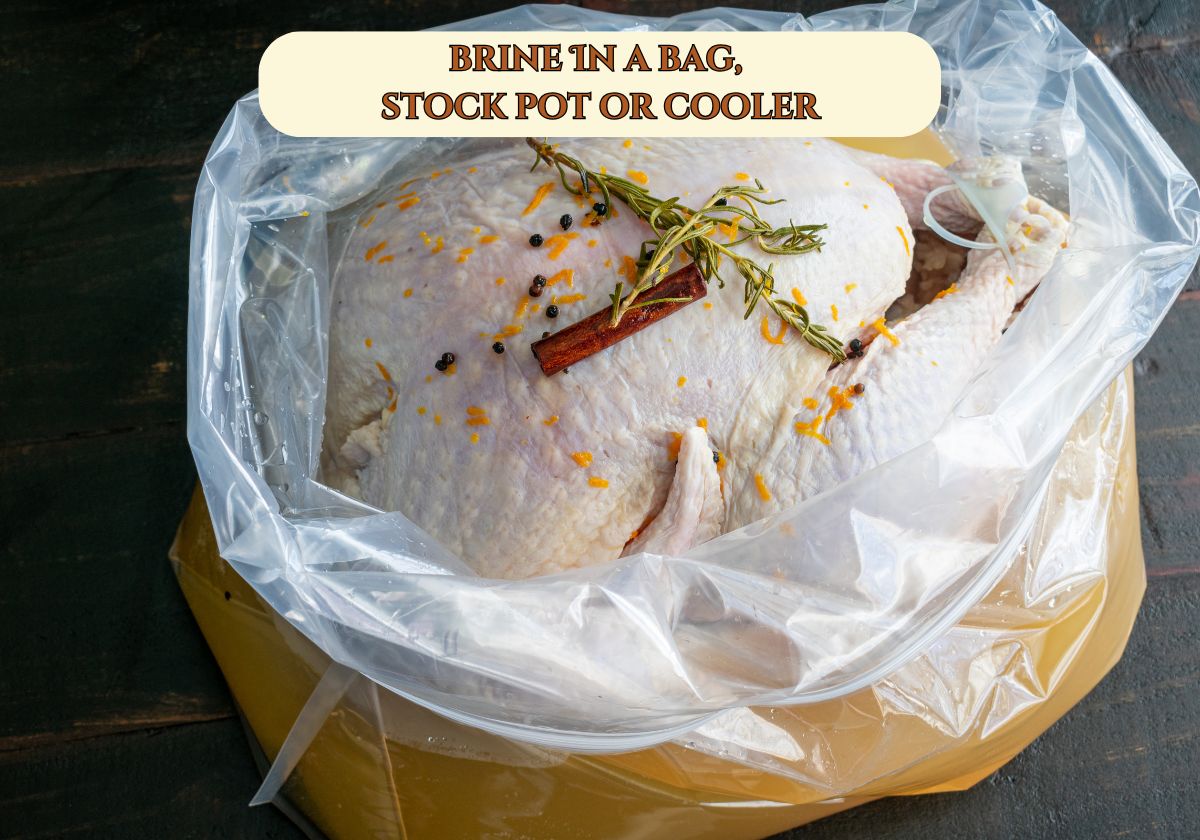
- Mix half a cup of kosher salt into a big ol’ pot with water and all your favorite seasonings. A classic combo is 1 cup of salt per gallon of water. Feeling sweet? Toss in 1/4 cup of sugar for every cup of salt. Spice it up with bay leaves, peppercorns, garlic, rosemary, thyme, or a sprinkle of citrus zest. Don’t forget to chill that brine before inviting the turkey to the party!
- After removing the neck and giblets, plop the turkey in a container big enough to fit it and the brine—think stock pot or brining bag. If you’re dealing with a turkey that’s bigger than your fridge, a cooler works wonders! If it tries to float, just throw a plate on top to keep it in check.
- Cover it up and stash it in the fridge on the lowest shelf. Using a cooler? Just toss in a bag of ice and keep that lid shut tight! It’ll stay cool and safe for at least 24 hours. Aim for a brining session of 8 to 24 hours.
 |
Dry-Brining
A dry brine is like a magic trick for your turkey, keeping its juicy goodness intact without drowning it in extra liquid. The result? A flavor bomb and fabulously crispy skin! Follow these steps:
- Grab half a cup of kosher salt and mix it with two tablespoons of baking powder in a bowl. Now, give your turkey a patting dry with paper towels. Don’t forget to kick out the neck and giblets from its cozy cavity! Sprinkle that salty goodness generously all over, from a fun height of six to 10 inches above the bird for maximum coverage. Your turkey should look like it’s had a delightful salt shower, but don’t go overboard—just a nice, light coat will do. Want it saltier? Go wild! Prefer it less salty? You do you!
- Now, plop that turkey into a roasting pan with a rack and let it chill in the fridge, uncovered, for 12 to 24 hours.
- Do NOT rinse off the salt! And no adding more salt, either. Spice things up with some non-salty herbs and spices if you like!
- If you’re feeling adventurous, let that bird brine for over 24 hours for an even juicier, flavor-packed feast. Just loosely cover it with plastic wrap or cheesecloth to keep it from drying out, and you can let it soak in all that goodness for up to three days!
Turkey Roasting Quick Tips:
How Long Does a Frozen Turkey Need to Thaw?
Get ready for a thawing marathon! A frozen turkey needs about 24 hours for every five pounds to go from frozen to fabulous. Want to speed things up? Dunk it in a chilly liquid brine bath (check out the wet brining magic above!).
How much turkey do you need?
Aim for 1 to 1.5 pounds of turkey per guest—perfect for a feast and some tasty leftovers!
How long to cook the turkey?
Roast that bird for 13 minutes per pound if it's unstuffed and 15 minutes if it's full of stuffing goodness
What temperature to cook the turkey?
Crank it up to a cozy 350°F
Does the turkey bake covered or uncovered?
Let that turkey strut its stuff uncovered for that crispy skin! If it starts to look a little too tan, just throw a foil tent over it. Smaller turkeys (10-14 lbs) usually don’t need a cover at all
When is the turkey done?
Your turkey is ready to party when it hits at least 165°F in the thickest part of the thigh—aim for a spot where you can stick the thermometer in 1.5 inches deep without meeting any bone
How long to rest the turkey?
Give that turkey a well-deserved rest for at least 30-45 minutes before slicing it up. This helps the juices settle in the meat instead of making a run for it on your cutting board, plus it saves your hands from a fiery turkey hug (because trust me, it's still super hot after resting!)
What If Your Turkey Is Still Frozen?
If your turkey is still frozen — fully or partially — don't panic! You can roast a frozen turkey and it will turn out just fine! Just follow our instructions for cooking frozen turkey below. You’ll be fine.
 |  |
Roasting a Turkey
First things first.
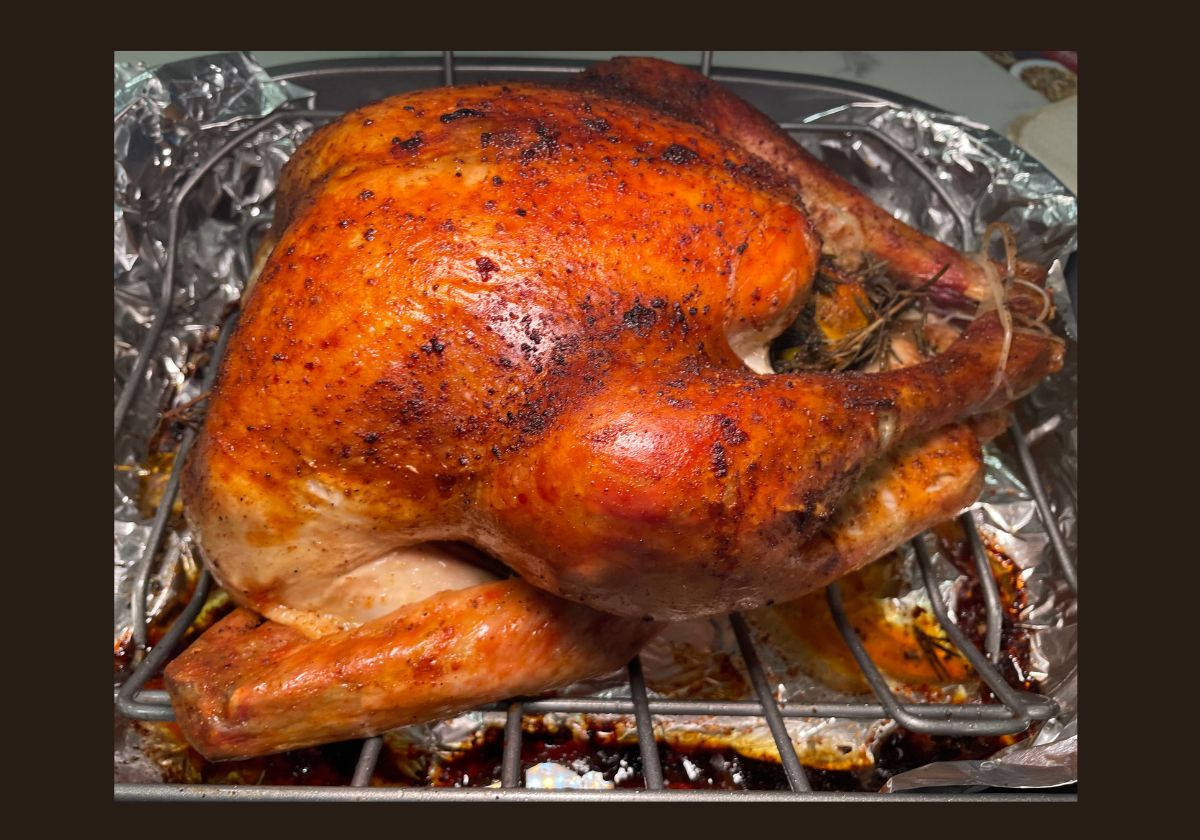
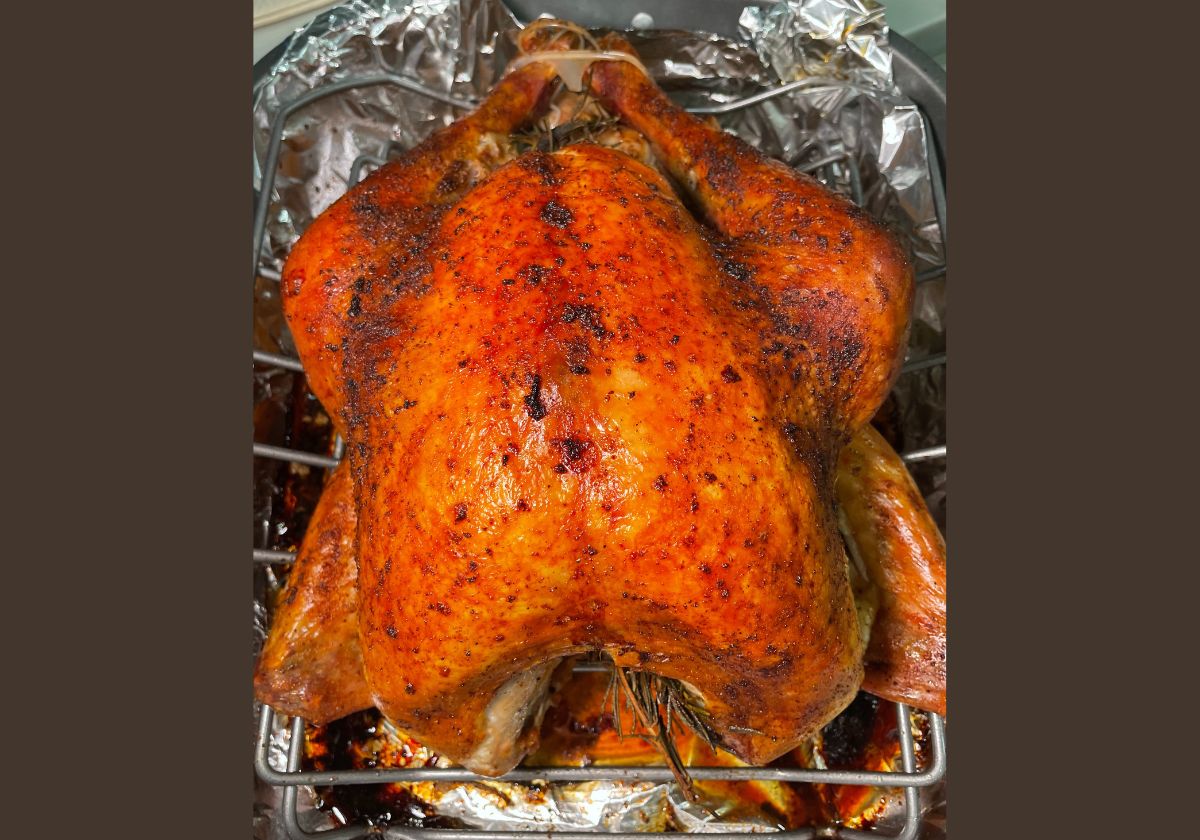
One day before roasting, unwrap it, pat it dry with paper towels, and let it chill in the fridge for 24 hours on a roasting rack. This will help achieve that golden crispy skin we all dream of!
- Time to get the oven fired up! Preheat that bad boy to 350°F and get ready for some turkey magic.
- Let’s talk fat! Grab your favorite (butter, seasoned butter, or my personal hero, bacon grease) and slather it all over the turkey—under the skin and everywhere else. It’s like giving your turkey a buttery massage!
- Season that bird! If you skipped the brine, make it rain salt and pepper. Sprinkle on your favorite herbs and spices—I'm all about that Kinders Woodfired Garlic! Stuff the cavity with fresh herbs (sage, thyme, rosemary) and halved citrus (lemon, lime, orange). If you’re stuffing it, just skip the citrus and herbs.
- Prepping for the big roast! Tuck those wing tips under the turkey and pour in a cup of water to keep the drippings from turning into charcoal.
- In you go, turkey! Roast it up for about 13 minutes per pound (15 if it's stuffed).
- Baste away! Every 30 minutes, give that turkey a nice brushing with its own drippings. If it’s getting a bit too tan, throw a tent of aluminum foil over it to protect it from overcooking.
- Check the temperature! It’s ready when your trusty instant-read thermometer hits at least 165°F in several spots (the breast and the thickest part of the thigh—avoid bone contact!).
- Bravo! When it’s done, remove that turkey from the oven and let it drain its juices into the roasting pan—those are your secret weapon for delicious gravy!
- Give it rest, folks! Carefully move the turkey to a clean cutting board, tent it loosely with foil, and let it chill for at least 30 minutes—patience is a virtue!
- Now, it’s carving time! Need some pointers? We have you covered later in this article!
Roasting a Frozen Turkey
It actually takes little extra effort to roast a frozen turkey, albeit about 50% more time. Here are some tips for success:
- DO NOT, I repeat, DO NOT deep-fry or grill a frozen turkey! It’s like inviting an oil explosion to your holiday feast—yikes!
- DO NOT even think about stuffing that turkey. It’ll be rock-solid and stuff-less at first. Whip up that stuffing on the side instead!
- DO NOT forget to play turkey detective and remove the giblets halfway through cooking! Those pesky goodies will be hiding in there, but once the turkey starts thawing, you can fish them out with some long tongs—easy peasy!
- DO NOT serve a turkey that’s still frozen unless you want a surprise dinner roulette! Make sure to check that it hits a sizzling 165º to guarantee it’s safe and scrumptious!
Cooking Times by Weight for Frozen Turkey
- 8- to 12-pound turkey: 4 to 4 1/2 hours
- 12- to 14-pound turkey: 4 1/2 to 5 3/4 hours
- 14- to 18-pound turkey: 5 3/4 to 6 1/4 hours
- 18- to 20-pound turkey: 6 1/4 to 6 3/4 hours
- 20- to 24-pound turkey: 6 3/4 to 7 1/2 hours
*Partially thawed turkeys will have shorter cooking times. Start taking the turkey’s temperature at the lower end of the time range above.*
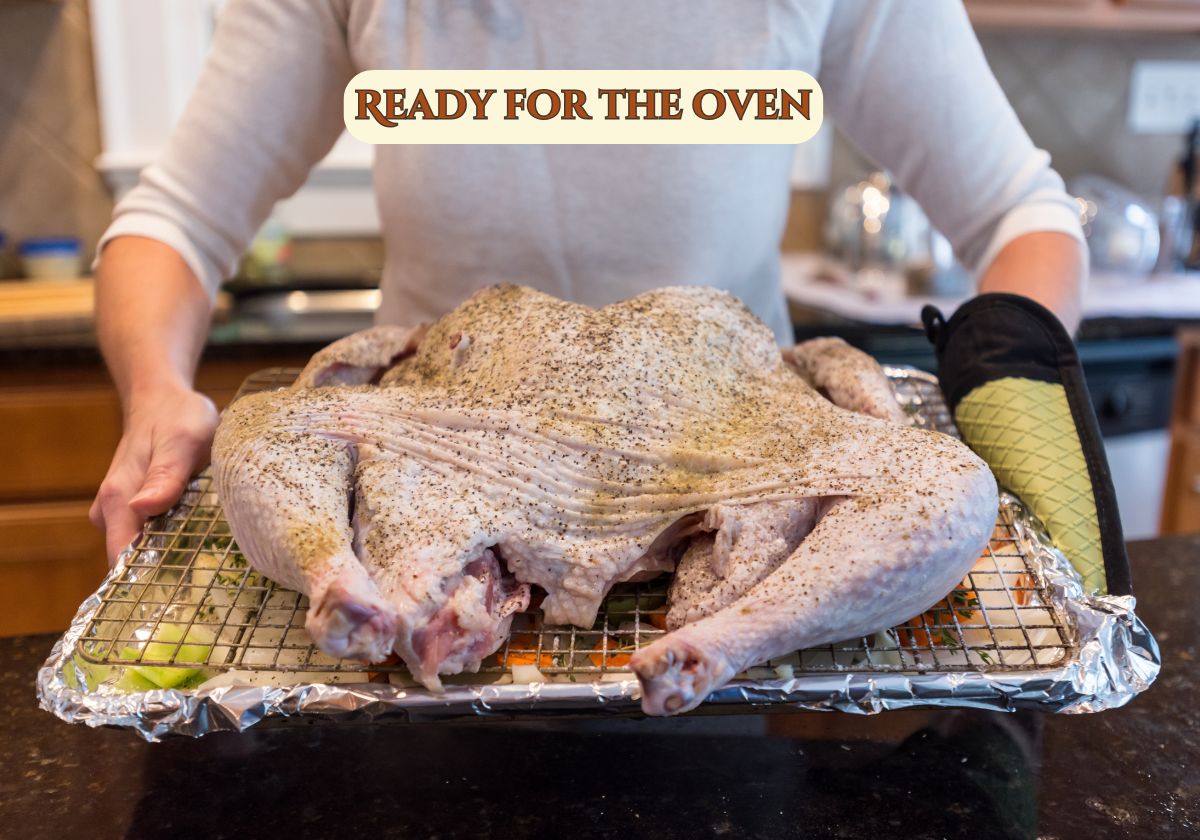
Spatchcocking a Turkey
Spatchcocking your turkey is a super simple way to cook it evenly and in record time! You'll be rewarded with skin so crispy it'll crackle, and white and dark meat cooked to perfection. Bon appétit!
Remove the backbone:
- Remove the neck and giblets from your turkey and pat it dry with paper towels.
- Place the turkey, breast-side down, on a cutting board. Use sharp kitchen shears to cut along one side of the backbone. Repeat on the other side. Discard the backbone or reserve it for making stock.
- Break the breastbone: Use the palm of your hand to press firmly onto the breastbone until you hear a crack. Flatten the spatchcocked turkey as much as possible.
Your turkey is now spatchcocked and ready to strut its stuff in the oven! Here’s the game plan:
- Plop that bird on a roasting rack over a sheet pan filled with a colorful crew of chopped onions, carrots, and celery.
- Give it a glorious rubdown with oil, butter, or maybe even some cheeky bacon fat. Sprinkle on sage, thyme, rosemary, salt, and pepper like you’re a culinary wizard.
- Roast in your preheated oven at 350º for about 90 minutes, giving it a little spin and a basting party every 30 minutes.
- Crank the heat up to 400º and let the turkey sizzle until it’s crispy and golden, about 15 more minutes.
- Make sure the turkey reaches a temperature of 165º before you kick it out of the oven. Let it chill (covered with foil) for 15-20 minutes before cutting into that beauty!
 |  |
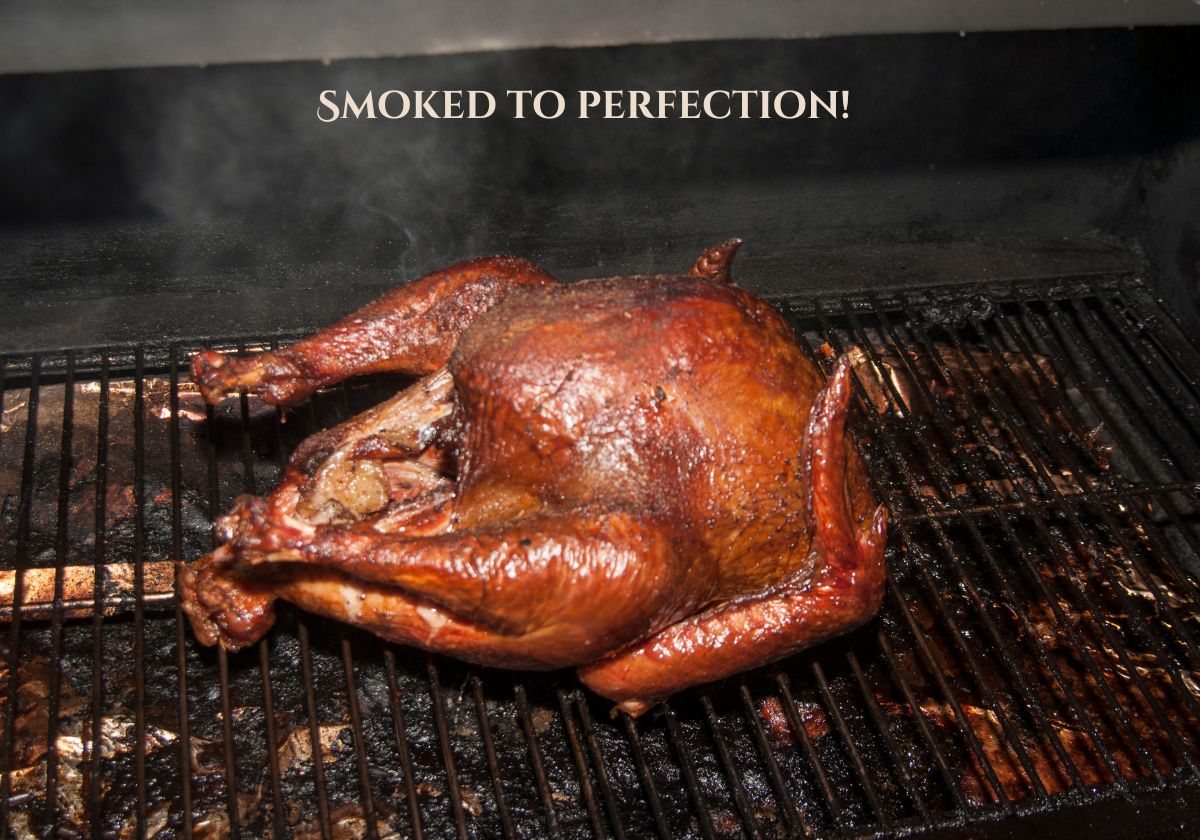
Smoking a Turkey
Get that grill fired up!
Preheat your grill for some indirect smoking magic at 225°F. For gas grills, turn on half the burners to medium-low and leave the other half chillin'. If you're rolling with charcoal, get those coals nice and ashy, toss them to one side, and crack the vents open just a smidge. Smoker on deck? Set it to 225°F and toss in those wood chunks for that dreamy blue smoke!
Time to prep the turkey!
Unwrap your defrosted bird and give it a good cavity check—out with the neck and giblets! If it’s been swimming in a wet brine, rinse it off with cold water (but skip the rinse if it’s dry brined). Pat it down like it just got out of a spa day, tie those legs together with butcher's twine, and tuck those wing tips
Season it up!
Slather that turkey in oil, melted butter, or bacon fat, then shower it down with your favorite seasonings
It's smoking time!
Plop that turkey right on the grill grates, close the lid, and let it soak up that smoky goodness. At 225°F, plan for about 30 minutes per pound, plus a bonus 30 minutes because, you know, turkey patience!
Check the temp!
Use an instant-read thermometer to peek at the breast and thigh—make sure to check both sides, especially if you're on a gas or charcoal grill where temps can be a bit moody. Go with the lowest temp you find, and once it hits 165°F all around, transfer that beauty to a platter or cutting board!
Let it chill!
Give your turkey a 30-minute timeout before slicing and serving. If it’s done a bit early, let it relax under some foil, wrapped in towels like it's getting the royal treatment!
 |
Deep Frying a Turkey
Safety first: Here’s the sizzling scoop on deep frying a turkey without turning your backyard into a bonfire:
- Grab some oil with a high smoke point, like peanut oil—because nobody wants their turkey tasting like it just did a smoke show!
- Keep a grease fire extinguisher handy, and remember: WATER + GREASE FIRE = DISASTER! If things get wild, throw some salt or baking soda at it, not your water bottle!
- Suit up with a heavy-duty apron and oven mitts, plus some long-handled tongs—because those grease splatters are like tiny fireballs aiming for your skin!
- To nail the oil amount, dunk your turkey in the pot and fill it with water until it’s halfway submerged. Pull out the turkey and measure the water left behind. Trust me, you do NOT want a hot oil eruption!
Ok, now that we're properly protected, let’s deep fry that bird! Here’s what you’ll need: a turkey fryer or a big ol’ stockpot, some oil, and a sprinkle of kitchen magic!
Thaw and Prep
First things first, thaw that turkey, kick the neck and giblets to the curb, and give it a good pat down! Feel free to sprinkle your favorite seasonings inside and out for a flavor explosion!
Heat the Oil
Now crank up that oil to a sizzling 350° to 400° F. Safety goggles optional, but highly recommended for the excitement!
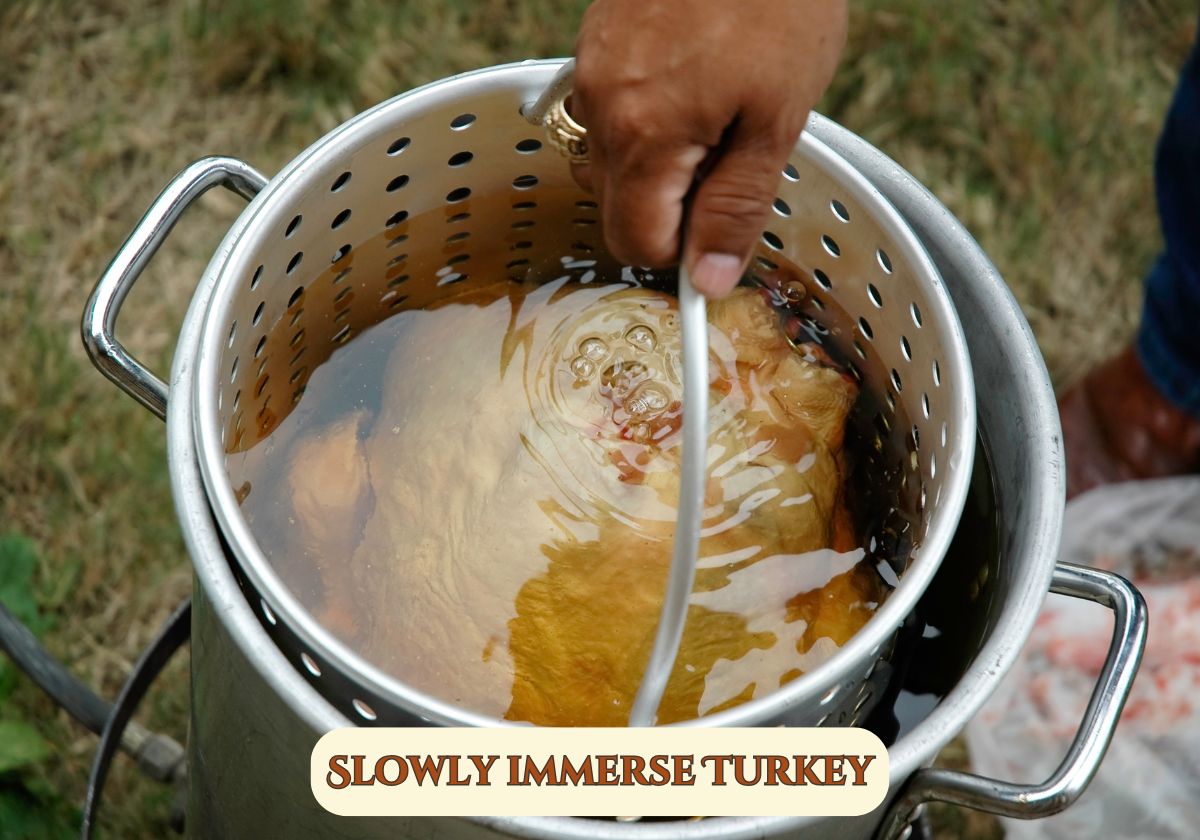
Submerge the Turkey
Time to not make a splash! Place that turkey carefully in the fryer basket or onto fryer hook and gently lower it neck-end first into the hot oil like you’re giving it a cozy bath!
Cook
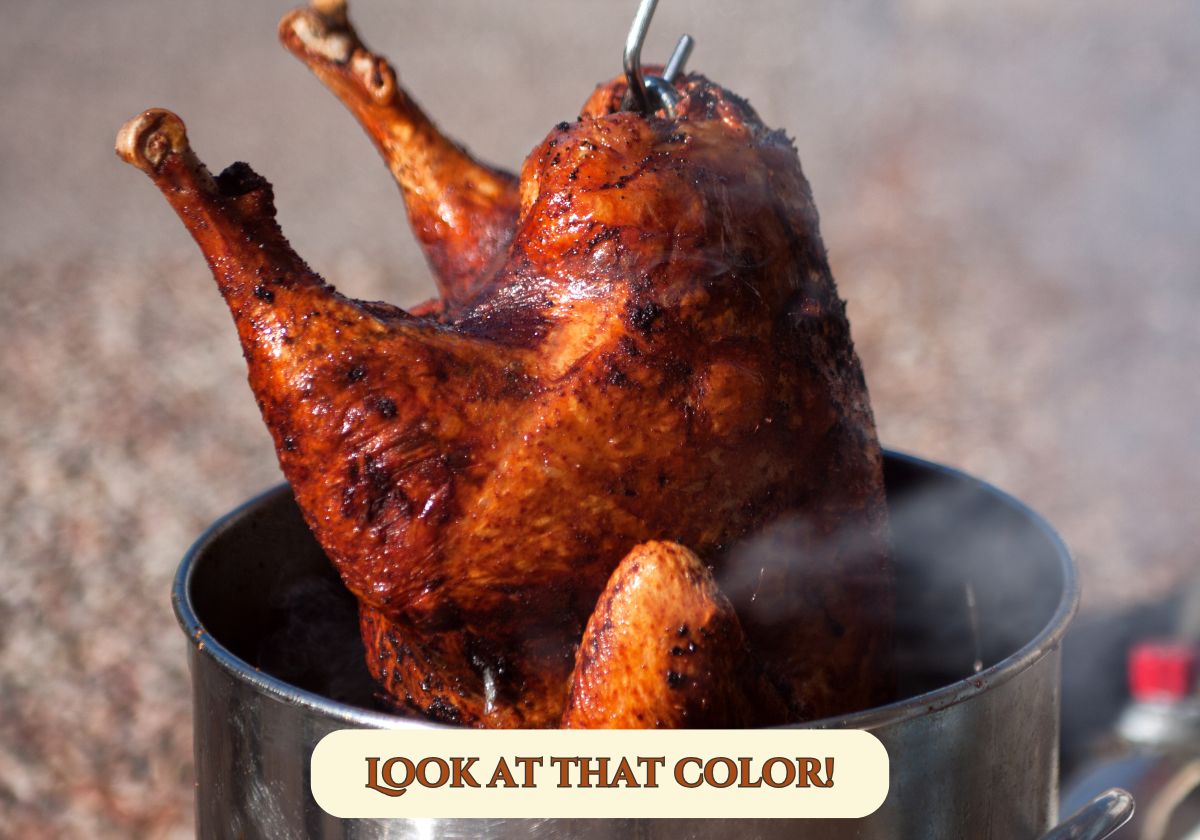
Let it cook for about 3 to 4 minutes per pound, or until it reaches a glorious 165° F inside. You want those juices running clearer than your post-holiday calendar!
Remove and Rest
Carefully pull that golden star of the show from the fryer and let it drain on a pan. Give it a little beauty rest, breast side down and legs up, for at least 20 minutes before you unleash your carving skills!
Now you’re ready to impress everyone with your crispy, juicy masterpiece!
 |  |
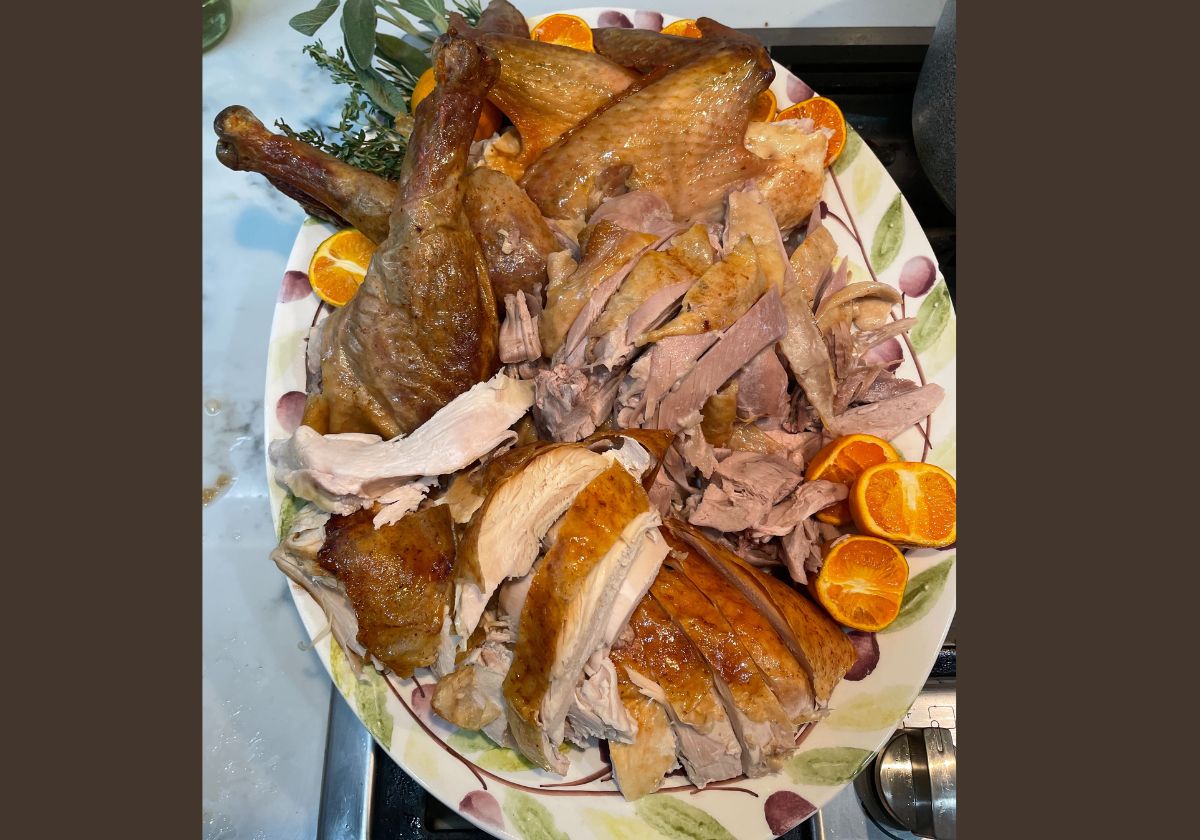
Carving the Turkey
Some recipes suggest binding the turkey legs together to ensure a more harmonious cooking experience. If your feathery friend sports any twine, begin by snipping it away with kitchen shears.
Remove the legs.
With the turkey breast facing upward, wield a chef’s knife to detach the leg and thigh. Glide your knife through the skin between the leg and breast to unveil the hip joint. Gently pull the leg quarters from the breast, then deftly cut through the now-exposed joint. Tilt the bird slightly to free the oyster—a delightful morsel of dark meat nestled above the thighs—without fully flipping it, lest the skin lose its crispness by resting on the cutting board.
Cut off the wings.
Focusing on one side at a time, draw the wing away from the body and slice through the joint connecting it to the breastbone.
Remove the breast meat.
Carve each split breast in one fluid motion, guiding your knife along the gentle curve of the breastbone. Follow the line of the breastplate, using long, smooth strokes (avoid sawing) until each breast is freed.
Separate the drumsticks from the thighs.
A joint connects the drumstick to the thigh; cut through this joint on each leg quarter. If you wish, slice the meat off the drumsticks and thighs, ensuring a bit of skin remains, or present them whole for the enthusiasts of dark meat at your gathering.
Split the wings.
Much like the leg quarters, locate the joint linking the drumette to the flat and cut through this connection. These wing segments can be arranged on a platter for serving—or enjoyed as a secret chef's indulgence.
Slice the breast meat.
Utilize a sharp chef’s knife to carve the breast meat into thin, crosswise slices, holding the skin in place so each piece retains a delightful hint of skin.
Platter and serve.
If you wish to elevate your presentation, warm the platter in a gentle 200-degree oven before serving, ensuring the turkey remains toasty on the table. Employ a knife or bench scraper to artfully transfer the breast slices onto the platter, overlapping them. Arrange the thighs, drumsticks, and wings in a symmetrical display, inviting guests to choose between the light and dark meats with ease.
 |
Making Gravy
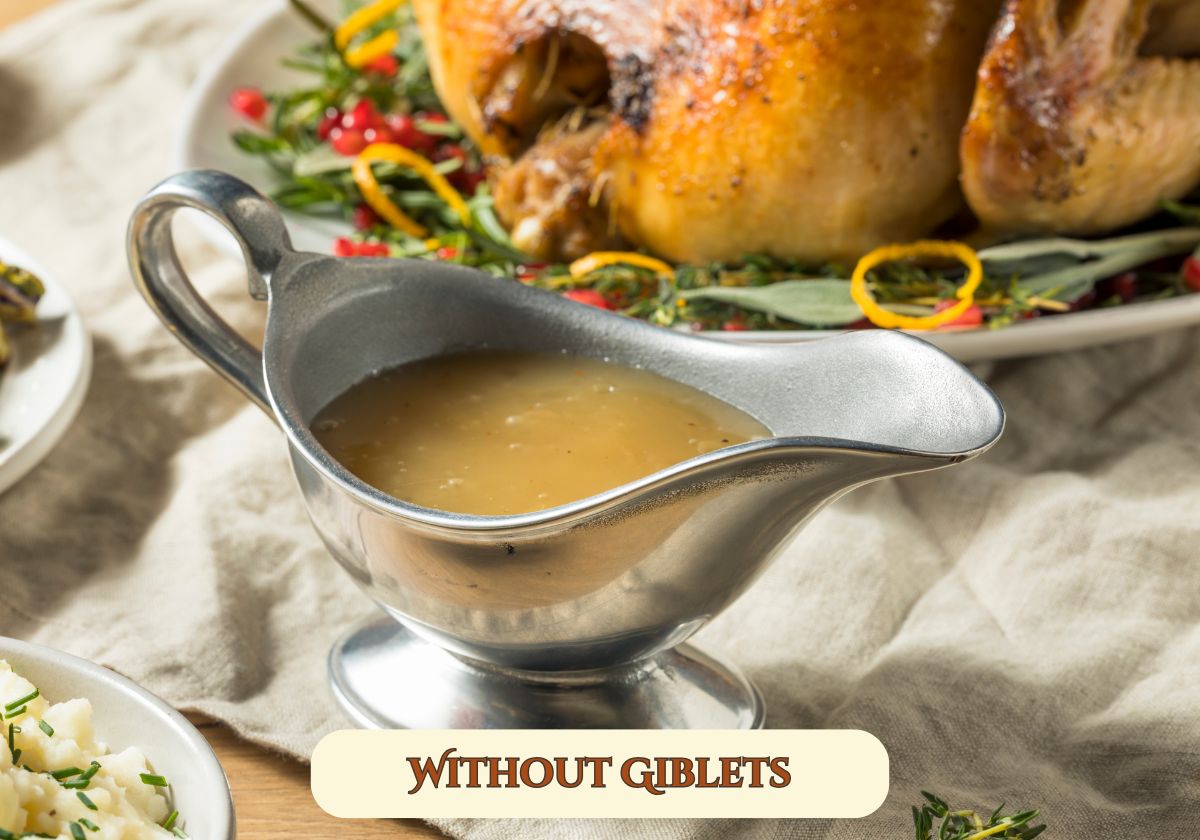
Without Giblets:
Ingredients:
- Pan drippings from turkey
- ¼ cup unsalted butter
- ¼ cup all-purpose flour
- 2 teaspoons chopped fresh thyme (1 teaspoon for dry)
- 1 tablespoon chopped fresh parsley leaves (1 tablespoon for dry)
- Salt and pepper (I prefer white pepper) , to taste
Method:
- Strain pan drippings through a fine-mesh sieve; discard solids and reserve 2 1/2 cups pan drippings; set aside. If you don't have 2 1/2 cups of pan drippings, make up for the rest with turkey or chicken broth.
- Melt butter in a saucepan over medium heat. Whisk in flour and thyme until lightly browned, about 2 minutes.
- Gradually whisk in reserved pan drippings. Bring to a boil; reduce heat and simmer, whisking constantly, until thickened, about 5-10 minutes. Stir in parsley; season with salt and pepper, to taste.
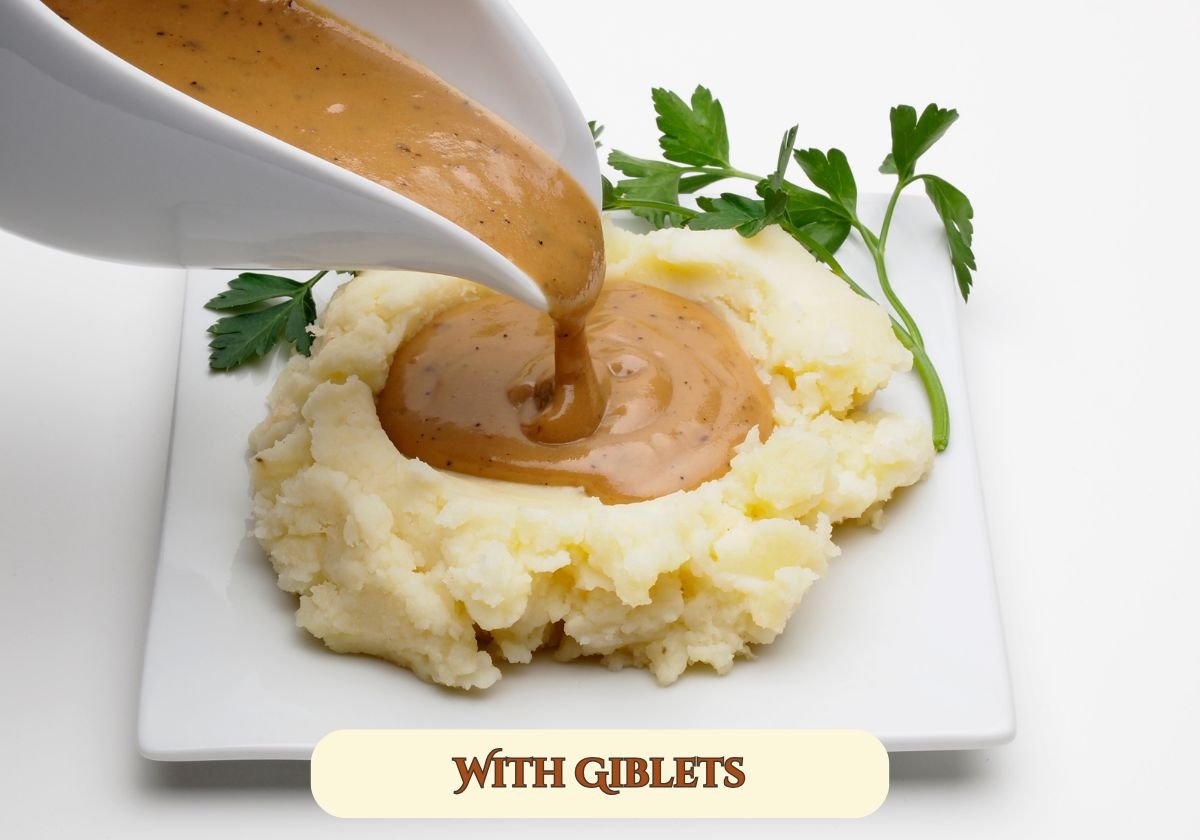
With Giblets:
Some notes:
We use liver into our giblet gravy, lending it a sumptuous depth of flavor. Should the slight taste of liver of liver be averse to your palate, feel free to omit it entirely.
Giblet gravy typically boasts a "chunky" texture; however, if a velvety consistency is your desire, purée with a burr mixer or blender to desired consistency.
Tradition involves the addition of finely chopped hard-boiled eggs to the gravy. Should you wish to try this flavorful step, chop up three hard-boiled eggs and incorporate them into the gravy during final step.
Ingredients:
- Giblets (neck, gizzard, heart, liver) from a turkey
- 2 tablespoons butter
- 1 cup diced onion
- 1/2 cup diced carrot
- 1/2 cup diced celery
- 1 tablespoon minced garlic
- 1 bay leaf
- 1 teaspoon dried thyme
- 5 cups water
- Drippings from the turkey
- 2 to 3 tablespoons flour (or 2 to 3 tablespoons of cornstarch, dissolved first into 1/4 cup of water)
- Salt and pepper, to taste
- 1 to 2 teaspoons mustard (yellow or Dijon)
Method:
- Heat the butter in a 2-quart saucepan on medium-high heat. When hot, add the giblets to the pan. Brown them on all sides.
- Add the onion, celery and carrot and sauté about 3 to 5 minutes. Add the garlic and sauté until fragrant.
- Add the bay leaf, thyme and water. Bring to a simmer. Lower the heat. Partially cover and cook on a low simmer for several hours, while the turkey is cooking.
- Once the bird is close to being done, strain the giblets and stock through a medium to fine mesh sieve into a bowl. Set aside the stock. Remove the giblets from the sieve. Finely mince the giblet meat. If you want, you can pull the meat off of the neck and mince that as well.
- Once the bird is done, move it to a cutting board to let it rest. Pour off the all fat but a tablespoon or two from the roasting pan. Set the roasting pan over two burners of the stovetop set over medium heat. You can also pour into a saucepan and make gravy there.
- Add the flour (or cornstarch slurry) and whisk it into the drippings. Stir in the minced giblets. Let cook for a few minutes, stirring constantly.
- Add the giblet stock to the pan drippings and giblets (and chopped egg, if using). Mix well to combine. Bring to a boil and stir constantly until the gravy thickens, about 2 to 3 minutes.
Add 1 to 2 teaspoons of mustard (to taste). Check for seasoning and adjust as needed. Serve it as-is, or purée the gravy for smoother texture.
 |  |
That’s a wrap, folks! May your Thanksgiving be a feast to remember!
Got more cooking conundrums for our culinary wizard? Shoot us an email at lauralui@macaronikid.com, and we’ll reply with an answer faster than you can say “pumpkin pie!”
*parts of this article were created with the help of AI

